Provisioning Service
The ProvisioningService allows for out-of-the-box device provisioning. This feature may be used for easy and fast deployment of a large number of devices that have similar configurations, applications, or areas of application. The entire process is described in the Remote Access section
The main goal of device provisioning is to allow a user to automatically configure a new device without the need to directly interact with the device. The Everyware Cloud platform takes care of the configuration of the device with the parameters given by the user.
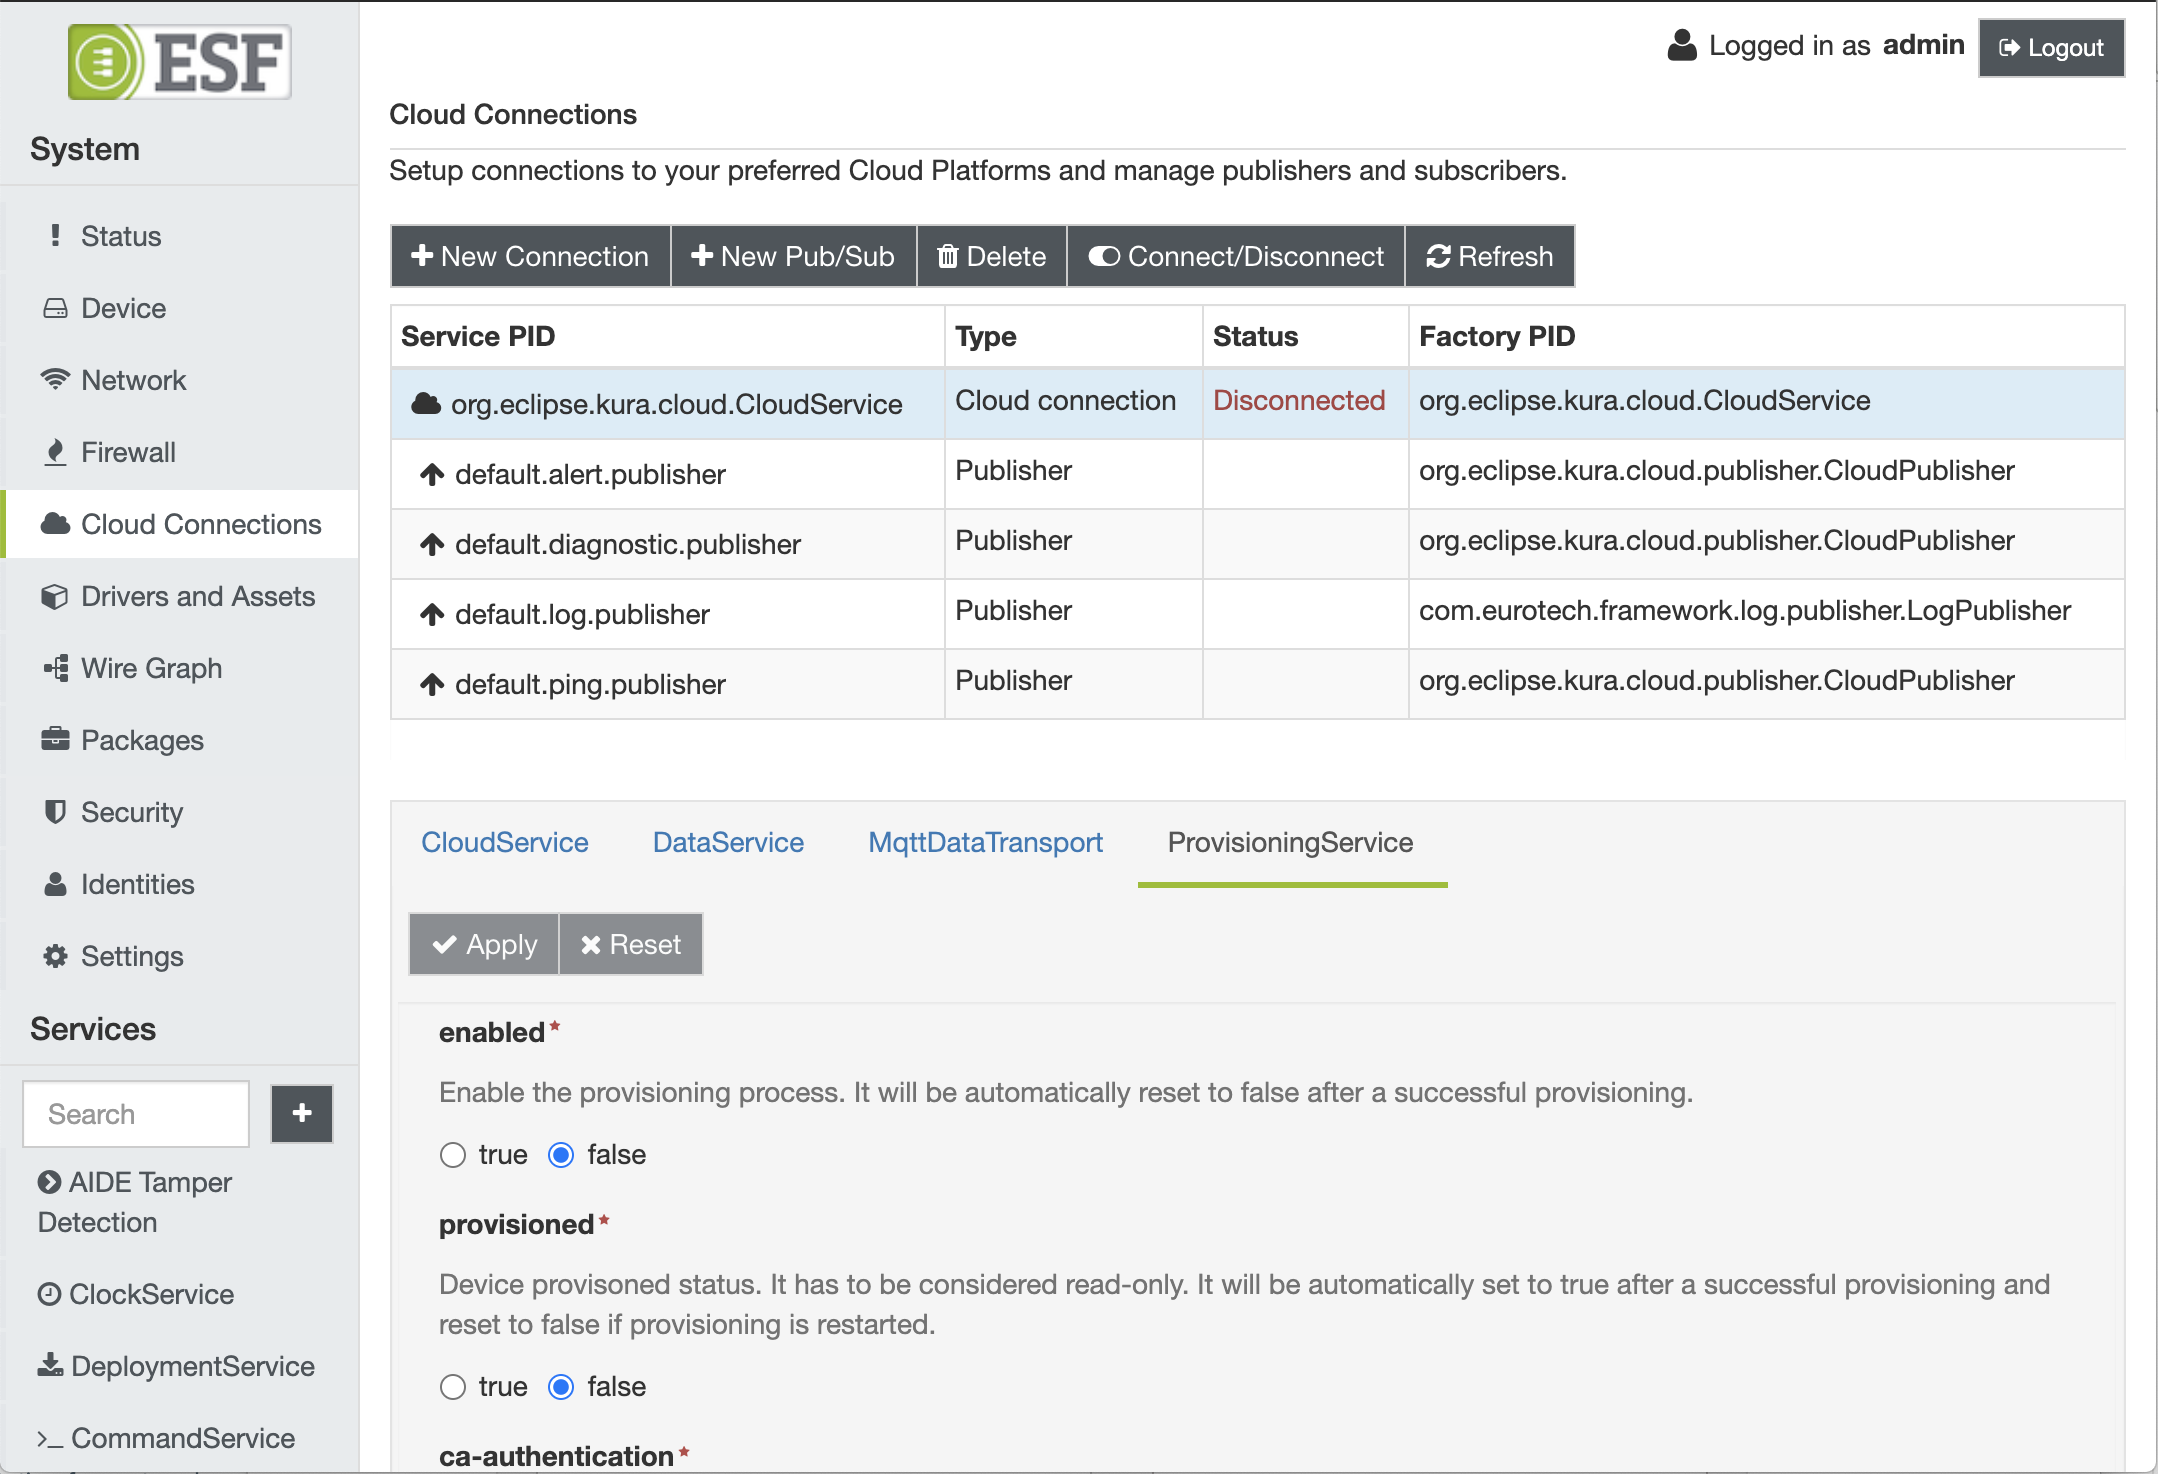
The ProvisioningService configuration can be accessed by navigating to the Cloud Connections section and selecting the ProvisioningService configuration entry for the specific cloud connection:

This service provides the following configuration parameters needed to perform the provisioning step:
-
enabled - Enables the provisioning process. It will be automatically reset to false after a successful provisioning.
-
provisioned - Device provisioned status. It has to be considered read-only. It will be automatically set to true after a successful provisioning and reset to false if provisioning is restarted.
-
ca-authentication - Certification Authority check performed on the certificates chain received during the provisioning. If this feature is enabled, the code verifies that the root CA of the certificate chain received during the provisioning is trusted.
-
Broker URL - supplies the broker URL as one of the following, depending on where your account is:
- Sandbox EC4: mqtts://broker-sandbox.everyware-cloud.com:8883
- Sandbox EC5: mqtts://broker-sbx.everyware.io:8883
- Production EC4: mqtts://broker-eurotech-provision.everyware-cloud.com:8883
-
account-name - Provisioning account name.
-
Username - identifies the username that matches the one that was provided when the provision request was created on the platform. If it does not match, the device will not be able to connect to the Provision Broker. If left empty, this is automatically determined by the client software, e.g. as the MAC address of the main network interface (generally uppercase and without ':') followed by '-' and the device serial number. The serial number is obtained from the kura.serialNumber property of the kura.properties file.
-
Password - identifies the password that matches the one that was provided when the provision request was created on the platform. If it does not match, the device will not be able to connect to the Provision Broker.
-
activation-key - Activation key (optional) to be used in the provisioning process.
-
Client ID - supplies the unique client identifier within the whole account. Our platform uses MAC addresses of the main network card of the device (columns removed) to obtain a unique client identifier. This identifier must follow the naming convention defined by the v.3.1.1 MQTT specification.
-
retry-interval - Frequency in seconds to retry the provisioning process.
-
retry-max-attempts - Maximum number of provisioning attempts before giving up (-1 to try forever).
-
timeout - Timeout in seconds for a provisioning attempt.
Starting from ESF 7, provisioning is no longer limited to the default cloud connection, but can be performed on any cloud connection.It is not possible perform provisioning of multiple cloud connections on the same Everyware Cloud (EC) instance.
Device Re-Provisioning
Once provisioned with Everyware Cloud (EC), the gateway is expecting to receive signed control messages.
If a provisioned gateway needs to be moved from one EC account to the other, the device provisioning needs to be performed again, setting the enabled option to true and the provisioned option to false.
Before performing the re-provisioning action, please make sure that the target EC instance certificates are actually loaded into the target gateways. In this way, the devices will be able to perform a safe re-provisioning to the new target EC instance.
To add or review the device installed certificates, please refer to the Keys and Certificates page
Updated 4 months ago
