Single Thing Provisioning
In order to be able to connect, each device needs to be provisioned to the AWS IoT platform.
This operation can be done using either the AWS Web Console or with the AWS CLI command line tool. The following steps are related to the Web based console approach.
1. Access the AWS IoT management console.
This can be done by logging in the AWS console and selecting IoT Core from the services list, in the Internet of Things section.
2. Create a default policy for the device.
This step involves creating a default policy for the new device, skip if an existing policy is already available.
Access the main screen of the console and select Secure -> Policies from the left side menu and then press the Create button, in the top right area of the screen.
Fill the form as follows and then press the Create button:
- Action ->
iot:Connect, iot:Publish, iot:Subscribe, iot:Receive, iot:UpdateThingShadow, iot:GetThingShadow, iot:DeleteThingShadow - Resource ARN ->
* - Effect ->
Allow
This will create a policy that allows a device to connect to the platform, publish/subscribe on any topic and manage its thing shadow.
3. Register a new device.
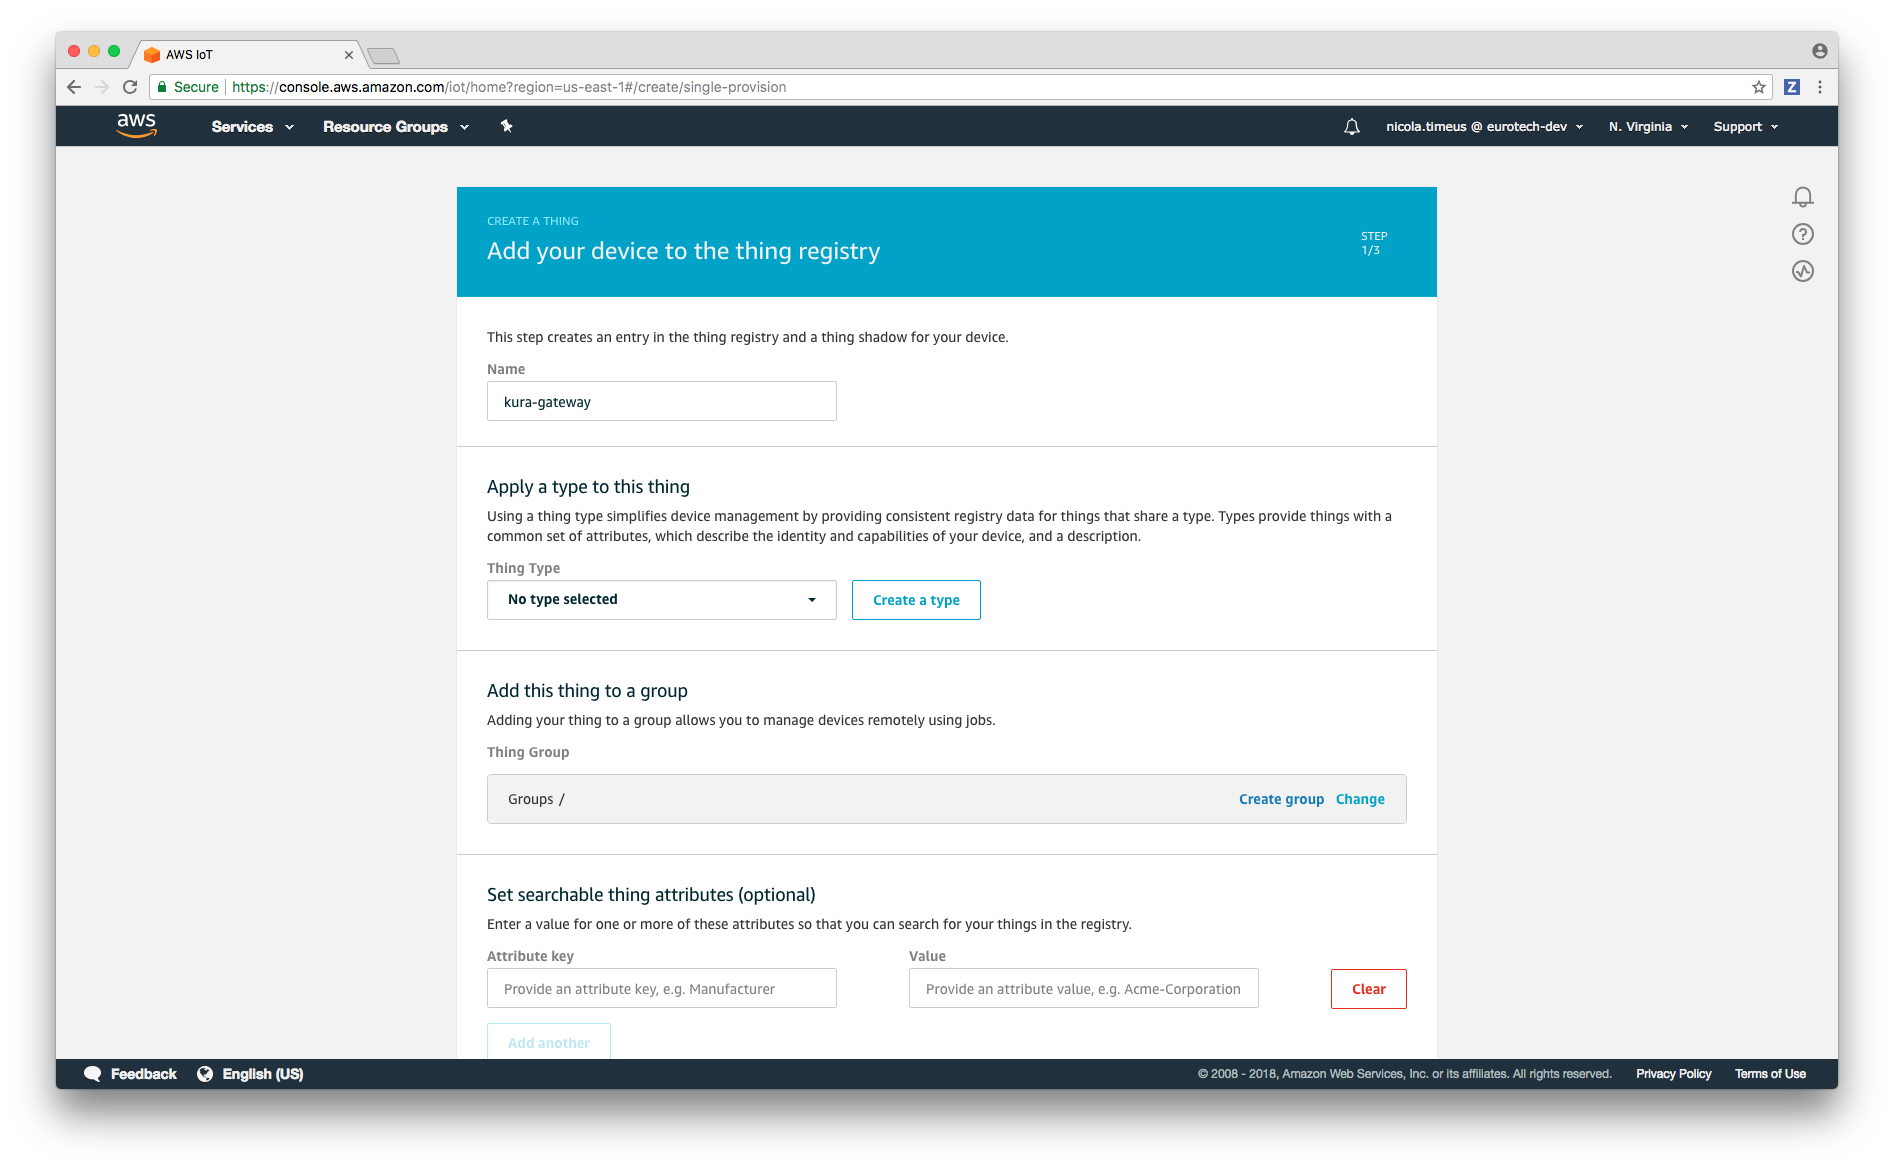
Devices on the AWS IoT platform are called things, in order to register a new thing select Manage -> Things from the left side menu and then press the Create button, in the top right section of the screen. Select Create a single thing.

Enter a name for the new device and then press the Next button, from now on kura-gateway will be used as the device name.
4. Create a new certificate for the device.
The AWS IoT Core service uses SSL mutual authentication, for this reason it is necessary to download a public/private key pair for the device and a server certificate. Click on Create certificate to quickly generate a new certificate for the new device.
Certificates can be managed later on by clicking on Secure -> Certificates, in the left part of the console.
5. Download the device SSL keys.
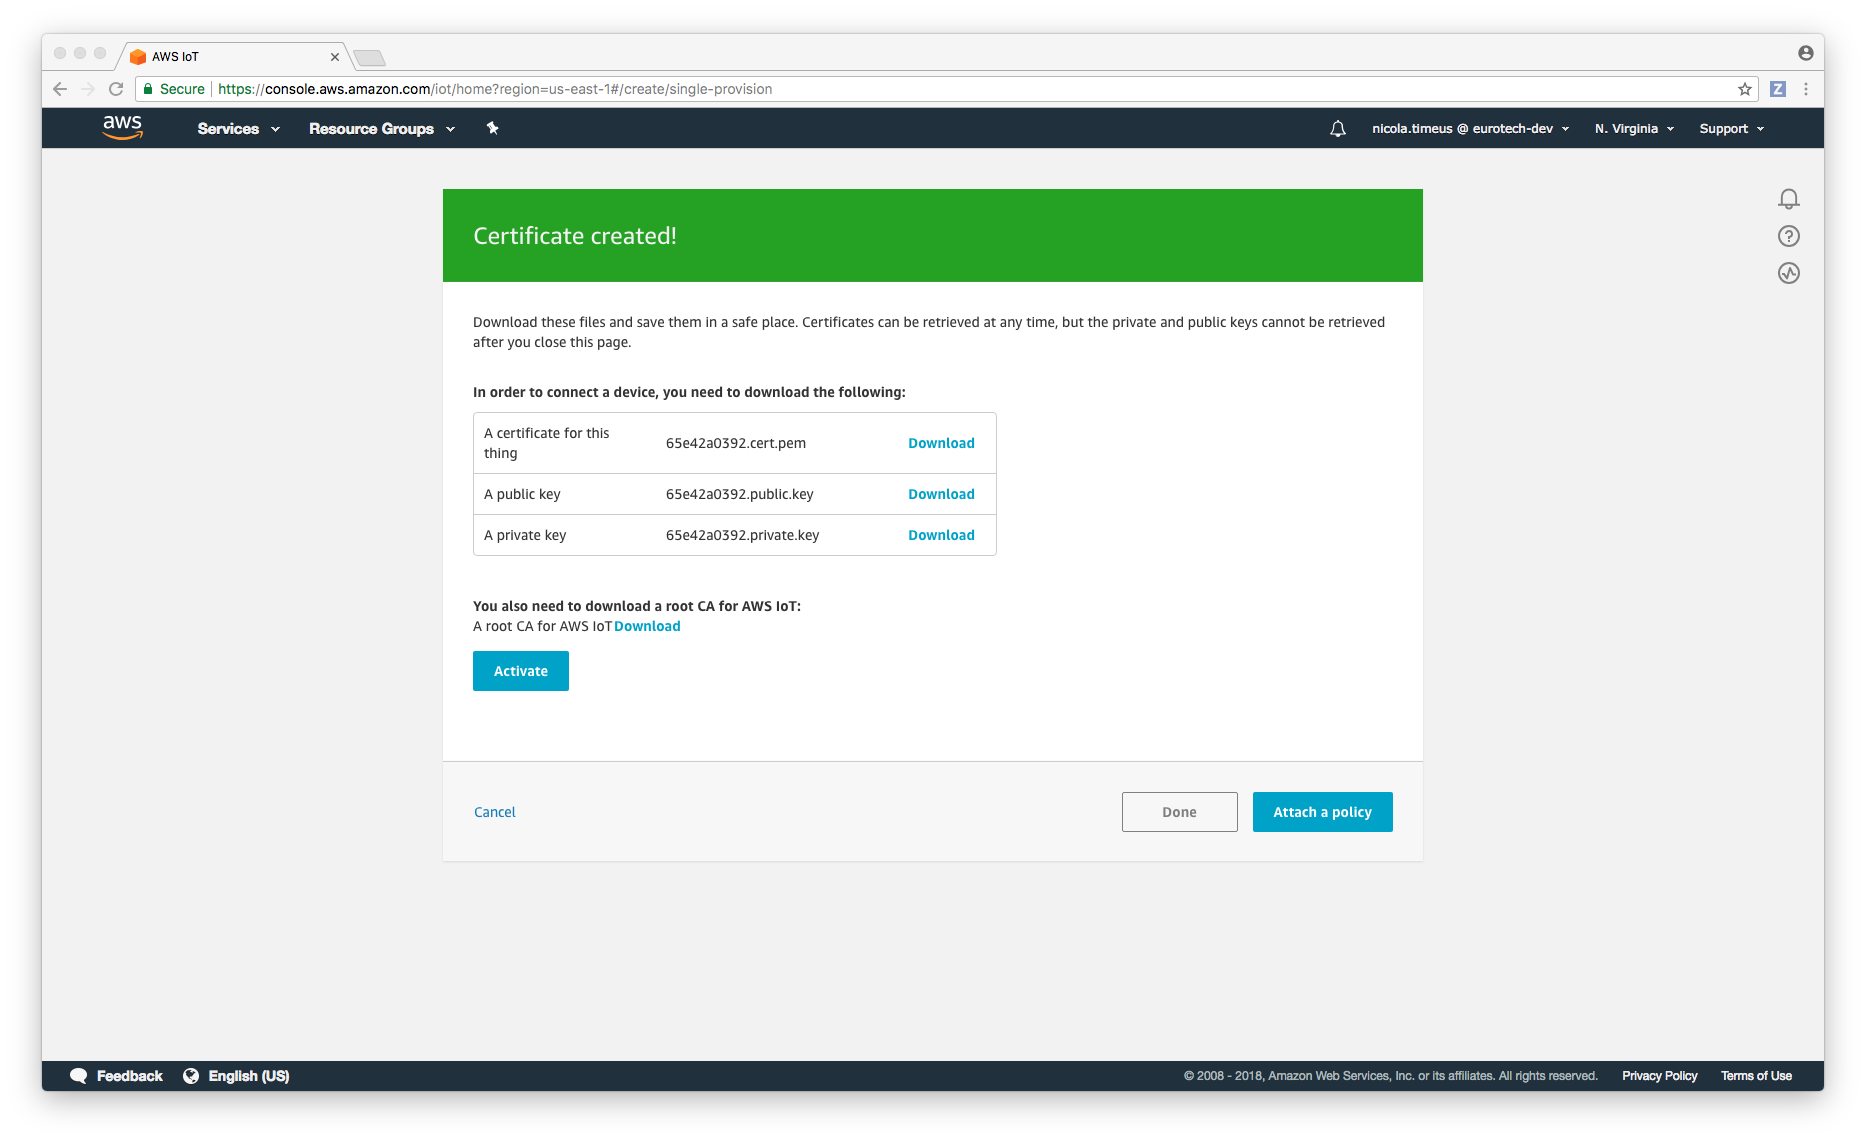
You should see a screen like the following:

Download the 3 files listed in the table and store them in a safe place, they will be needed later, also copy the link to the root CA for AWS IoT Core in order to be able to retrieve it later from the device.
Press the Activate button, and then on Attach a policy.
6. Assign the default policy to the device.
Select the desired policy and then click on Register thing.
A policy can also be attached to a certificate later on perforiming the following steps:
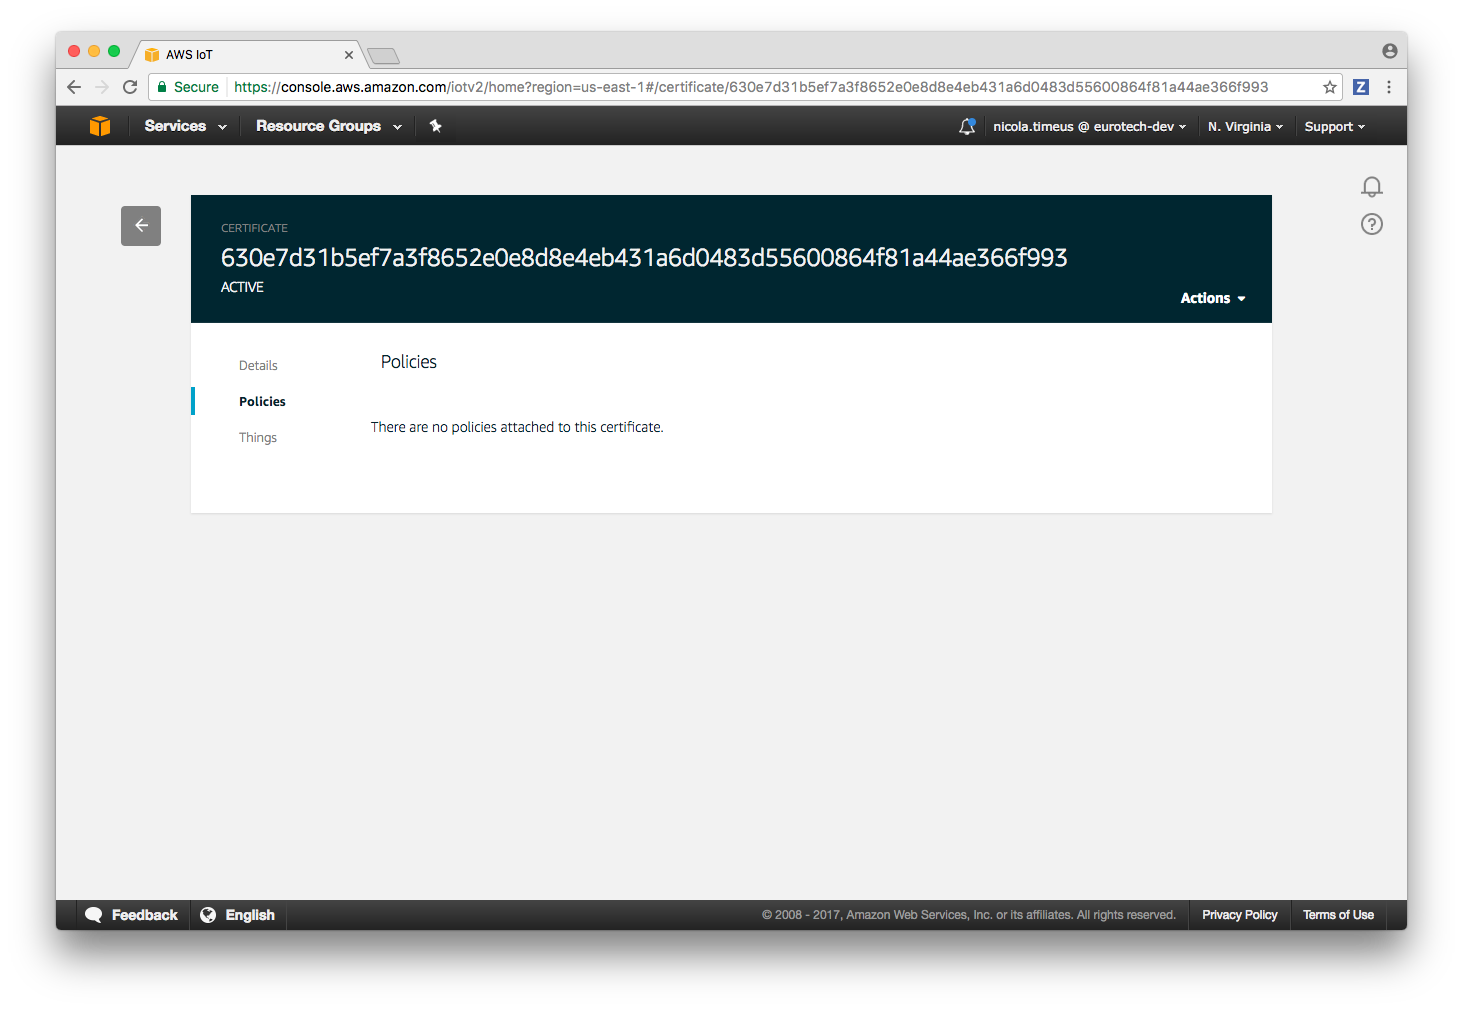
Enter the device configuration section, by clicking on Manage -> Things and then clicking on the newly created device. Click on Security on the left panel and then click on the certificate entry (it is identified by an hex code), select Policies in the left menu, you should see this screen:

Click on Actions in the top left section of the page and then click on Attach policy, select the default policy previously created and then press the Attach button.
Updated 3 months ago
