DB Store and Filter
This tutorial will present how to use DB Store and DB Filter components in Wires using the OPC-UA simulated server already used in OPC-UA Application.
The DB Store component allows the wire graphs to interact with the database provided by ESF. It stores in a user-defined table all the envelopes received by the component. The component can be configured as follows:
- table.name: the name of the table to be created.
- maximum.table.size: the size of the table.
- cleanup.records.keep: the number of records in the table to keep while performing a cleanup operation.
The DB Filter component, instead, can run a custom SQL query on the ESF database. It can be configured as follows:
- sql.view: SQL to be executed to build a view.
- cache.expiration.interval: cache validity in seconds. When the cache expires, a new read in the database will be performed.
The following procedure will create a wire graph that collects data from a simulated OPC-UA Server, stores it in a table in the database, using the DB Store component, and publishes it in the cloud platform. Moreover, the DB Filter is used to read from the database and write data to the OPC-UA Server based on the values read.
Configure OPC-UA server simulator
- Download the OPC-UA server simulator bundle and install it on your ESF instance. It will create a simulated OPC-UA server that exposes some sensors (light, temperature and water sensor) and some actuators (buzzer, led and fan).
- In the ESF Administrative Web Interface, select “OPCUA Server demo” in “Services” and set server.port to 1234. Click the Apply button. This will start an OPC-UA server on port 1234.
Configure Wires OPC-UA application
- Install the OPC-UA Driver from Eclipse Kura Marketplace
- Use the local ESF Administrative Web Interface to create a new OPC-UA driver instance:
- Select Drivers and Assets, click the New Driver button
- Select org.eclipse.kura.driver.opcua, type in a name, and click Apply: a new service will show up under Services.
- Configure the new service as follows:
- endpoint.ip: localhost
- endpoint.port: 1234
- server.name: leave blank

- Click on Wires under System
- Add a new Timer component and configure the interval at which the OPC-UA server will be sampled
- Add a new Asset with the previously added OPC-UA Driver
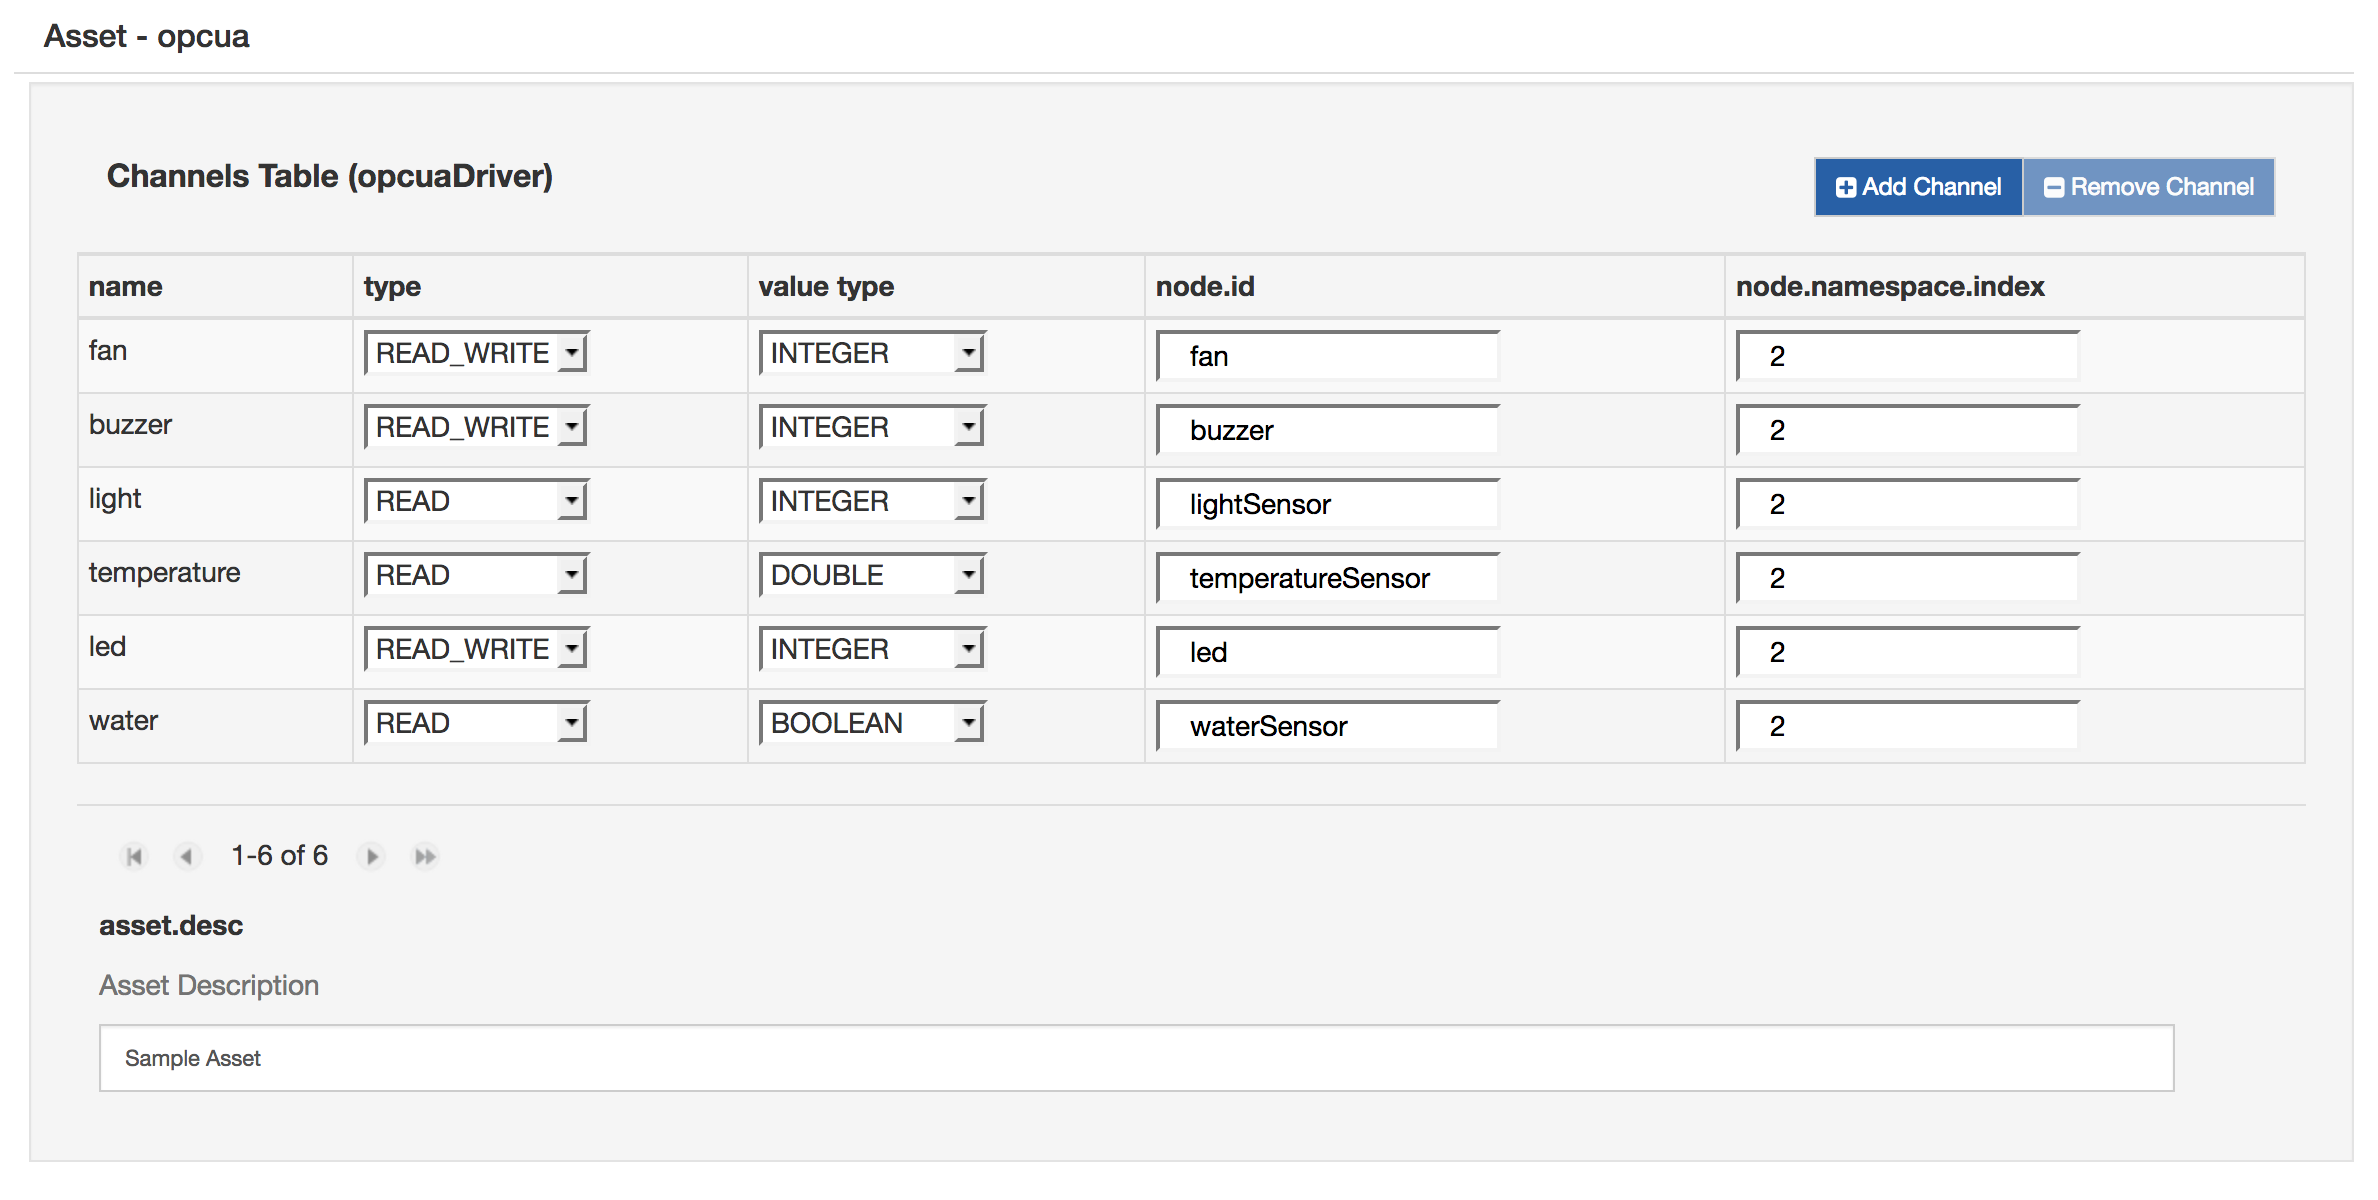
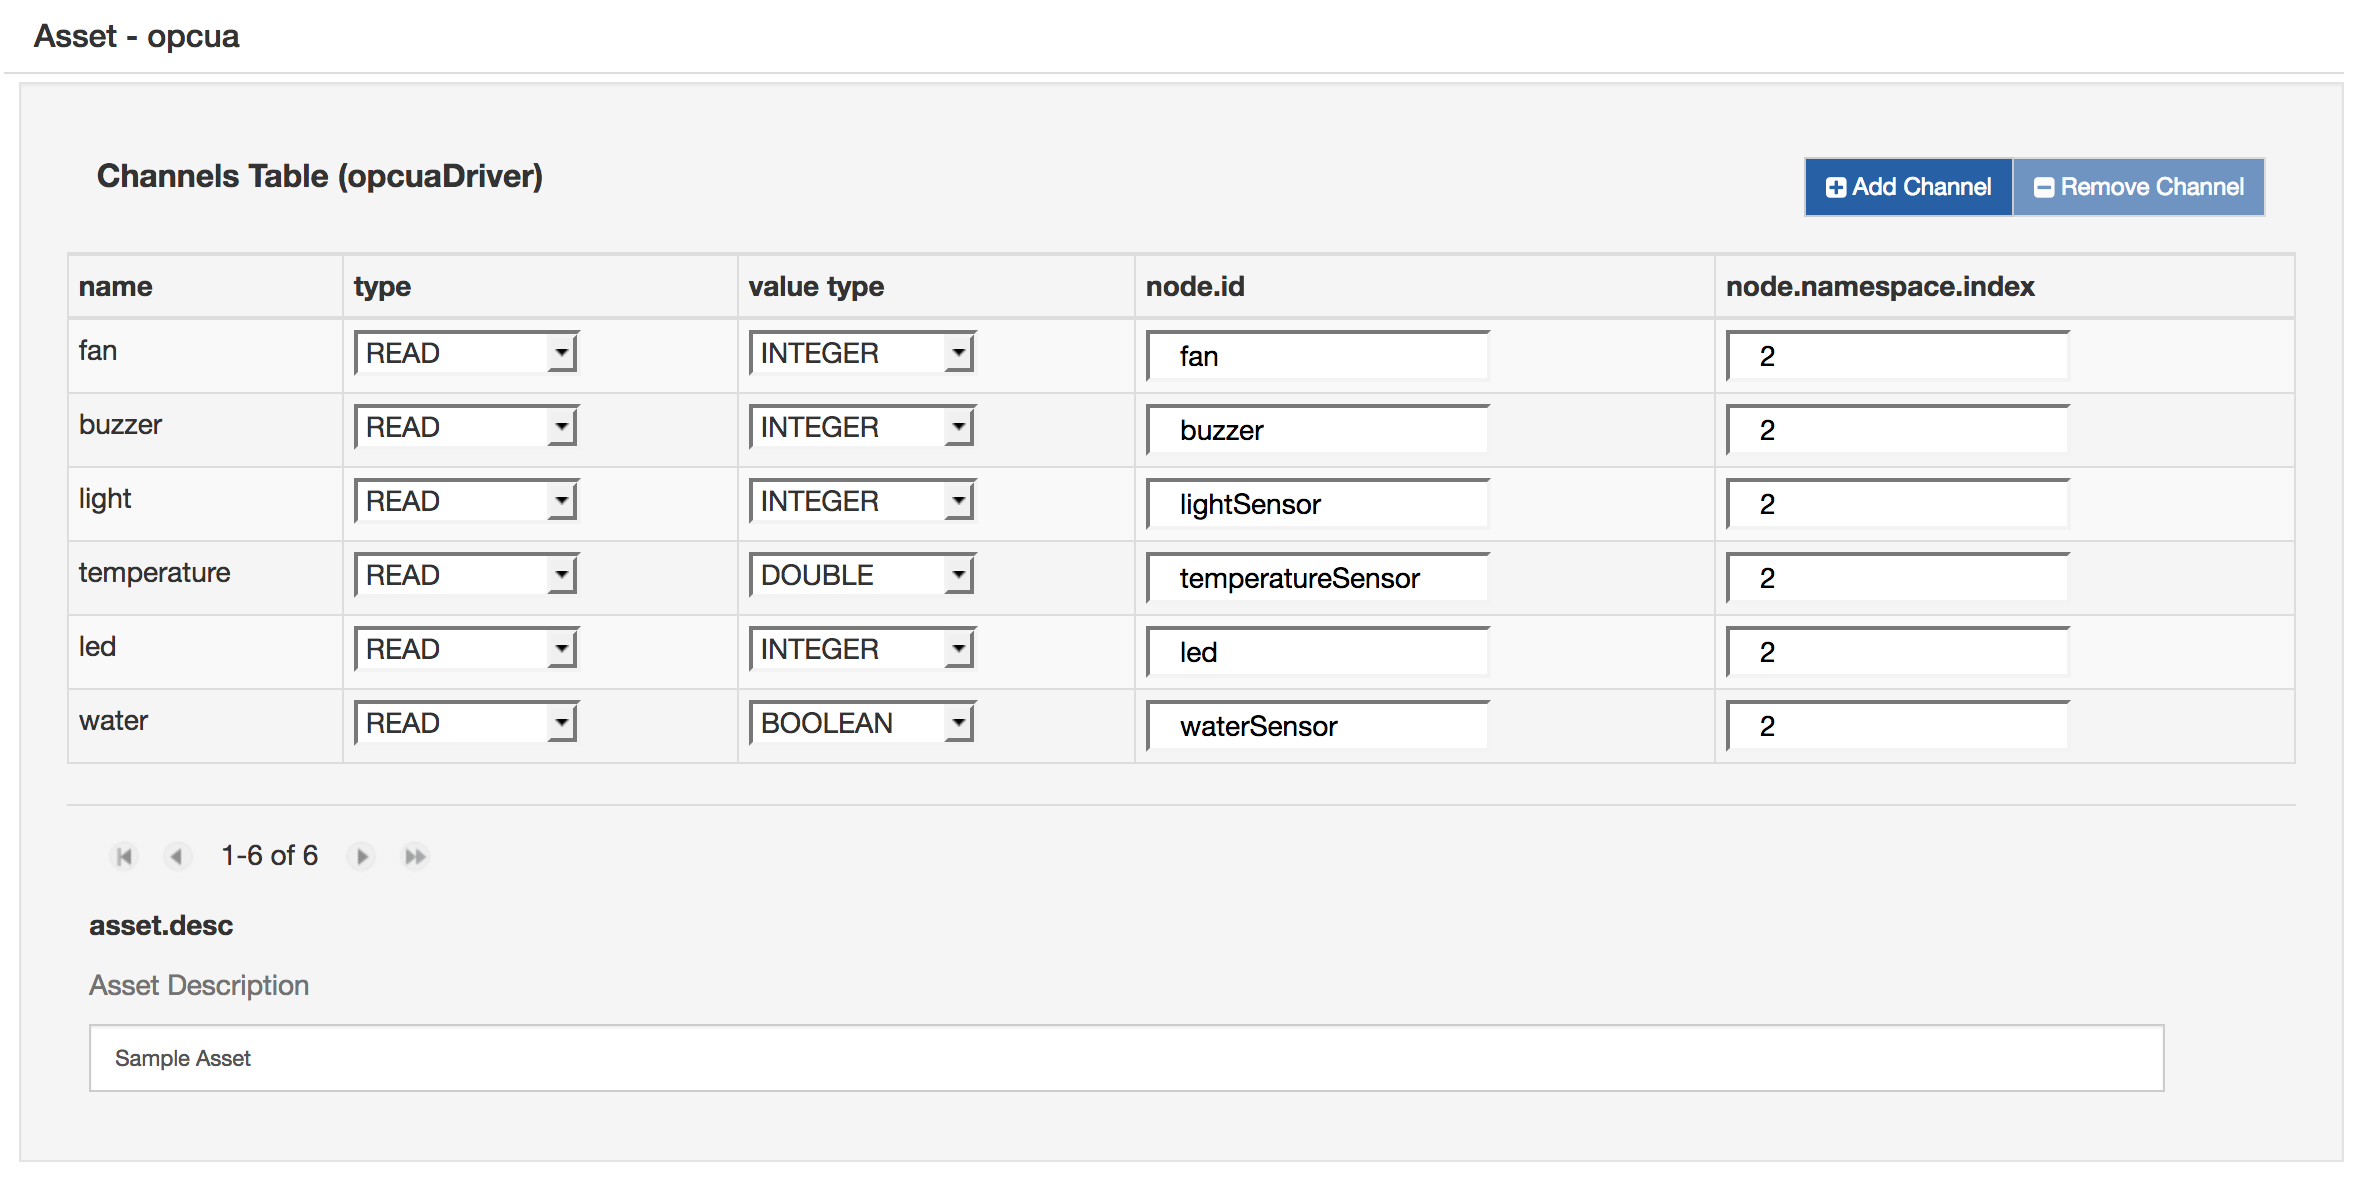
- Configure the new OPC-UA asset, adding new Channels as shown in the following image. Make sure that all the channels are set to READ.

- Add a new DBStore component and configure it as follows:
- table.name: WR_data
- maximum.table.size: 10000
- cleanup.records.keep: 0
- Add a new Publisher component and configure the chosen cloud platform stack in cloud.service.pid option
- Add Logger component
- Add another instance of Timer
- Add a new DBFilter component and configure it as follows. The query will get the values from the light sensor and if they are less than 200, the fan is activated.
- sql.view: SELECT (CASE WHEN “light” < 200 THEN 1 ELSE 0 END) AS “led” FROM “WR_data” ORDER BY TIMESTAMP DESC LIMIT 1;
- cache.expiration.interval: 0
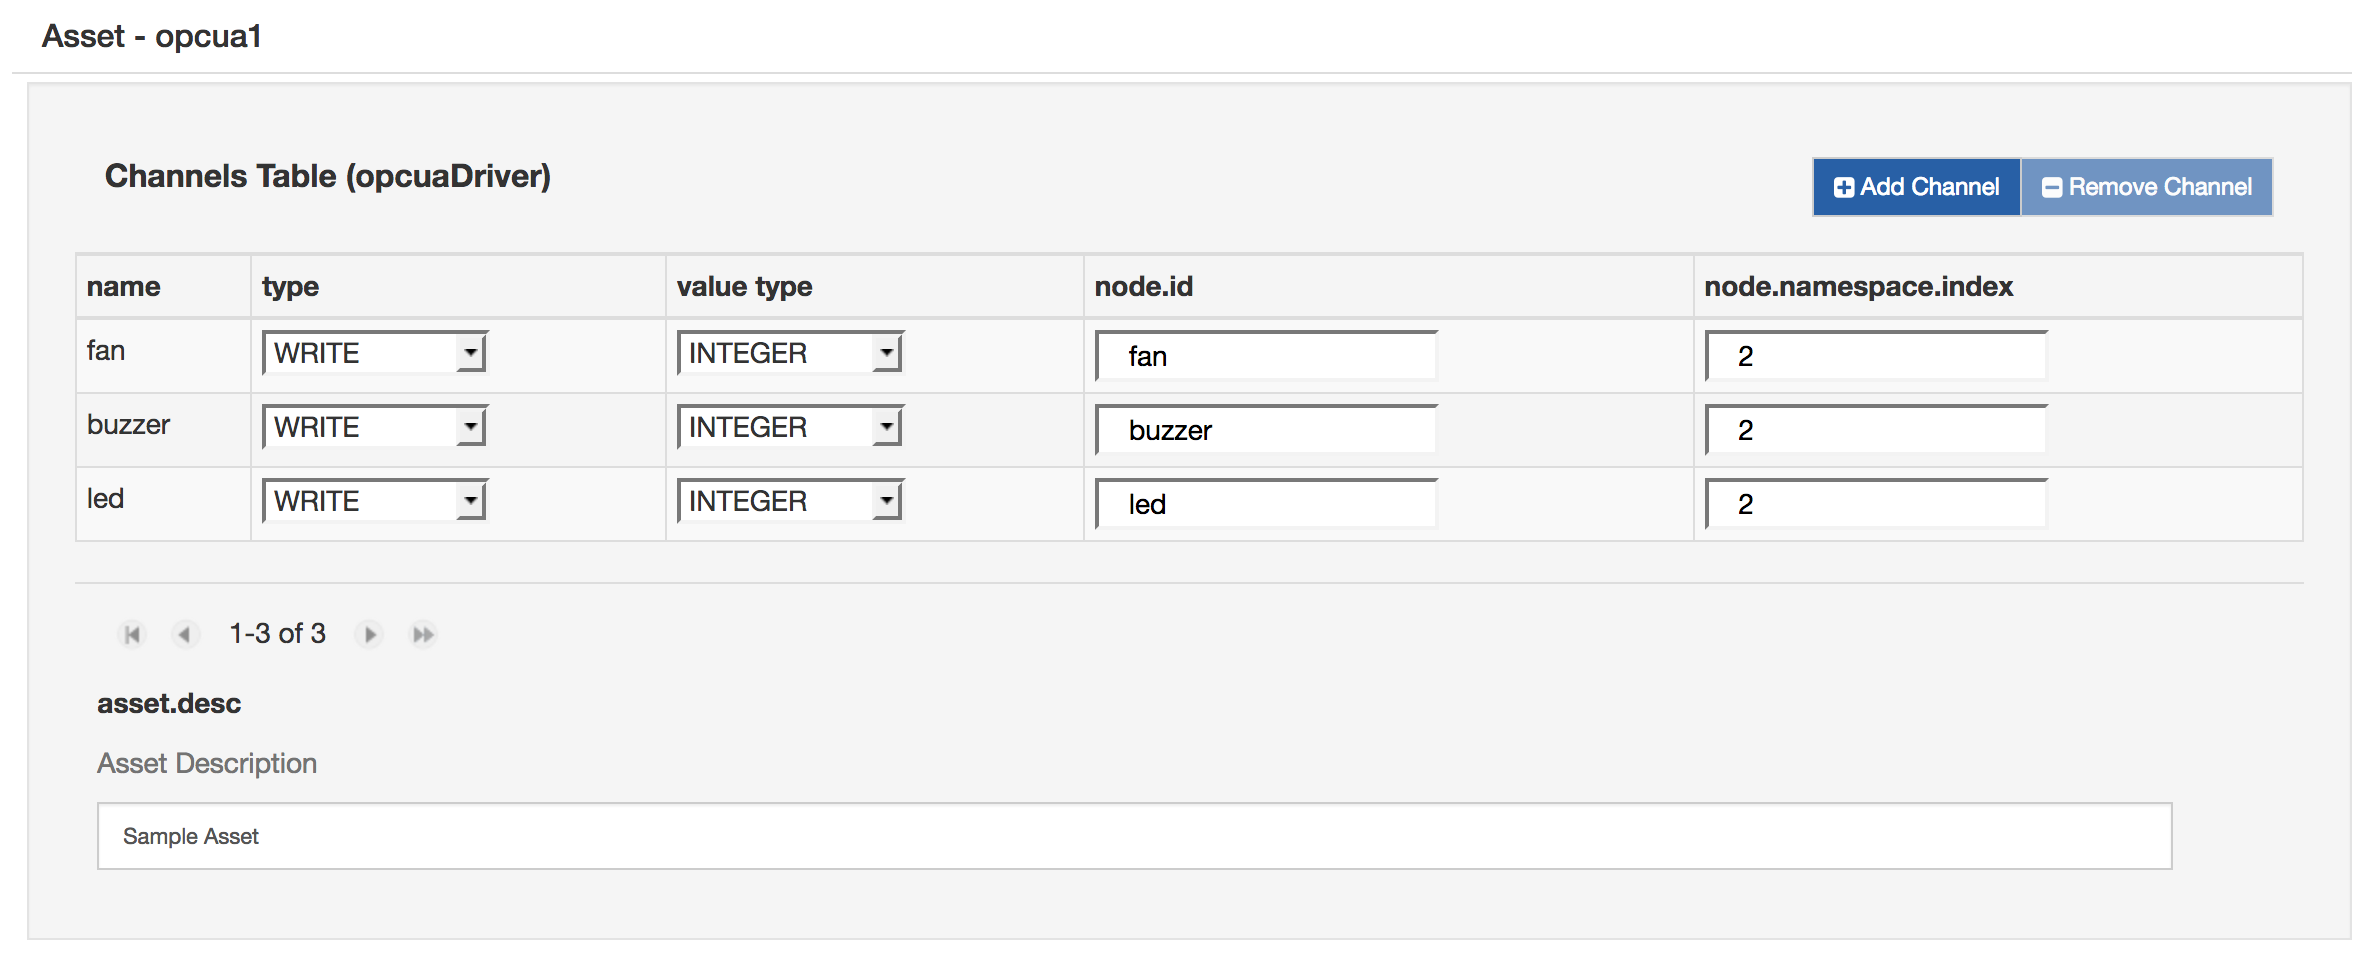
- Add another Asset with the OPC-UA Driver, configured as shown in the following image. Be sure that all the channels are set to WRITE.

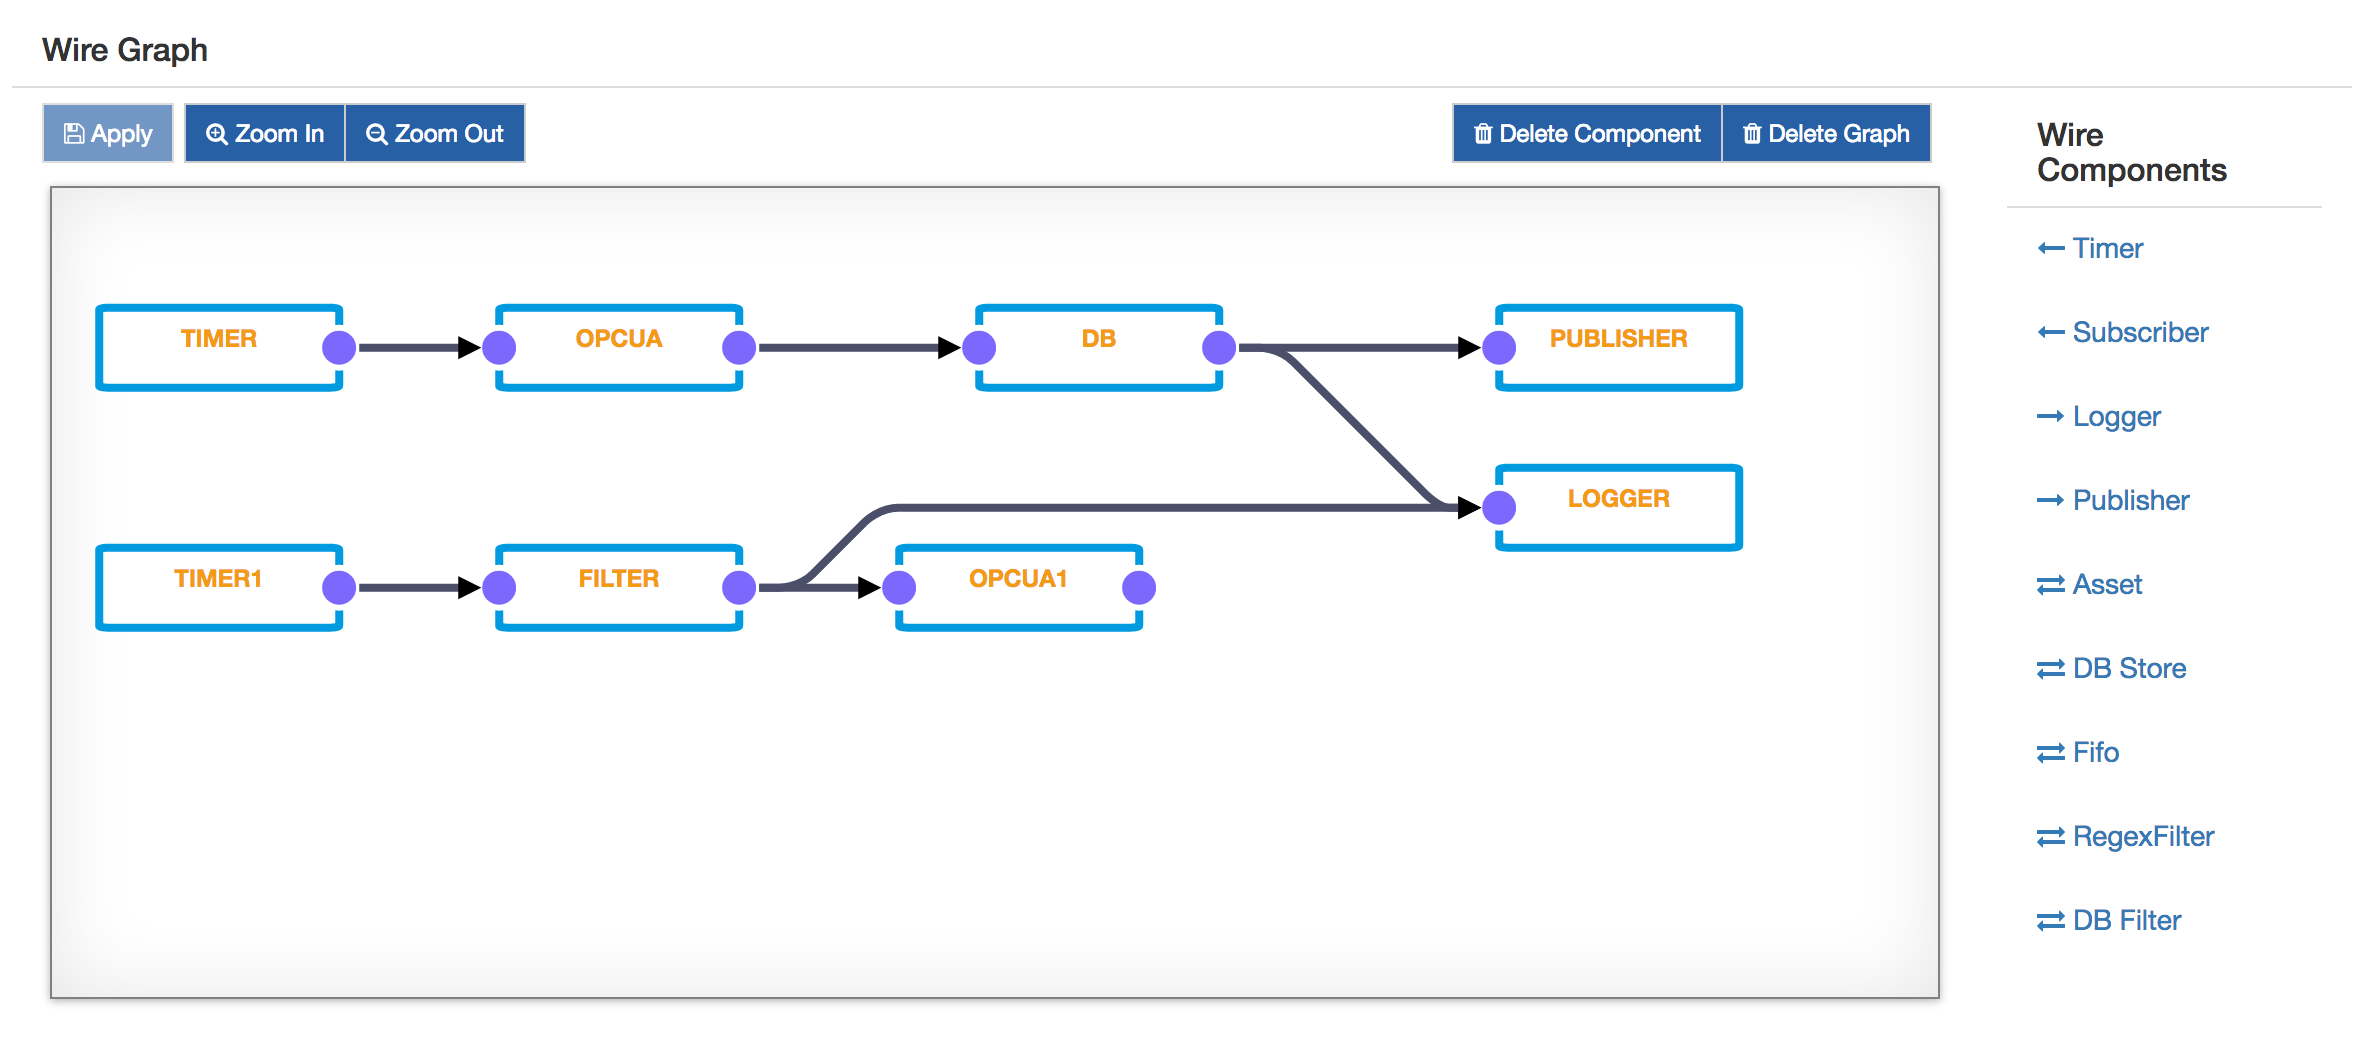
- Connect the components as shown in the following image, then click on “Apply” and check the logs and the cloud platform that the data is correctly published.

Updated 3 months ago
