ESF Cloud Connector for Azure IoT Hub
ESF can connect to the Azure IoT Hub using the MQTT protocol. When doing so, ESF applications can send device-to-cloud messages. More information on the Azure IoT Hub and its support for the MQTT protocol can be found here. This document outlines how to configure and connect an ESF application to the Azure IoT Hub.
Provisioning device in Azure IoT Hub
After installing the new Azure connector in ESF (com.eurotech.framework.cloudconnection.azure.mqtt.provider-1.0.1.dp), two different connection methods are available:
- TPM Endpoint for the devices that include a TPM
- SaS Endpoint for the devices not equipped with a TPM
TPM2 version:
The Azure cloudconnection provider has created a new service : TPMInfoService, containing the parameters of the TPM detected on the gateway.

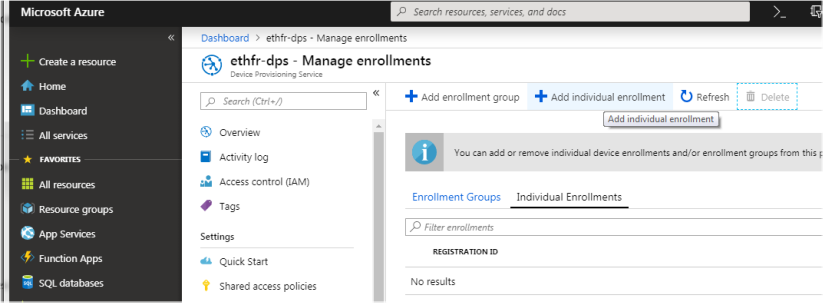
To provision the device in the Azure Portal, you need to use the Device Provisioning Service and add a new enrollment:
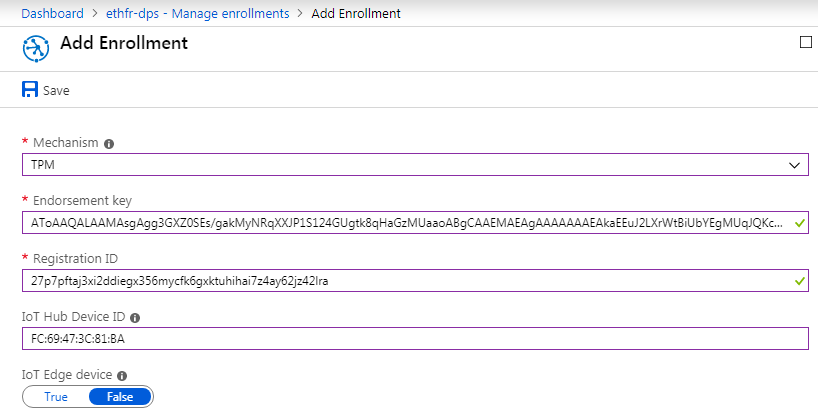
Select Mechanism = TPM, Copy/Paste the Endorsement key and the Registration ID, and enter the MAC address of the gateway in the IoT Hub Device ID
SaS version:
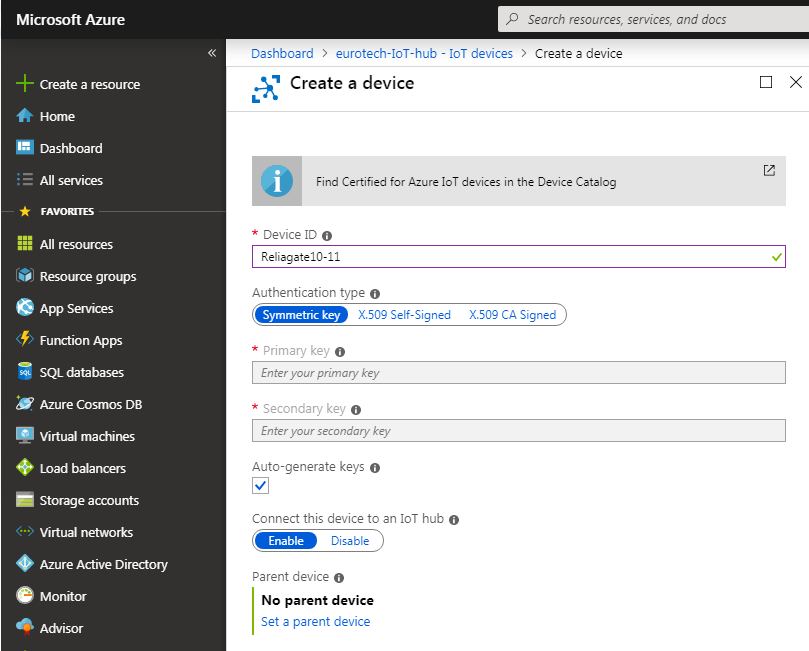
In Microsoft Azure Portal, IoT Hub -> IoT Devices, add a new device with a device identity:
Open the device details and copy the “Connection string (primary key)” that will be used for creating the new Cloud connection:

Configuring the ESF Cloud Stack for Azure IoT Hub
The ESF Gateway Administrative Console exposes all services necessary to configure a connection to the Azure IoT Hub. You can follow the steps outlined below to configure the connection to the Azure IoT Hub.
The first step is to create a new ESF Cloud stack. From the Kura Gateway Administrative Console:
- Select Cloud Services in the navigation on the left and click New to create a new Cloud stack
Here again, two different configurations depending on the connection method:
TPM2 version
In ESF Web interface, create a new Cloud Connection using Factory AzureTPMCloudEndpoint
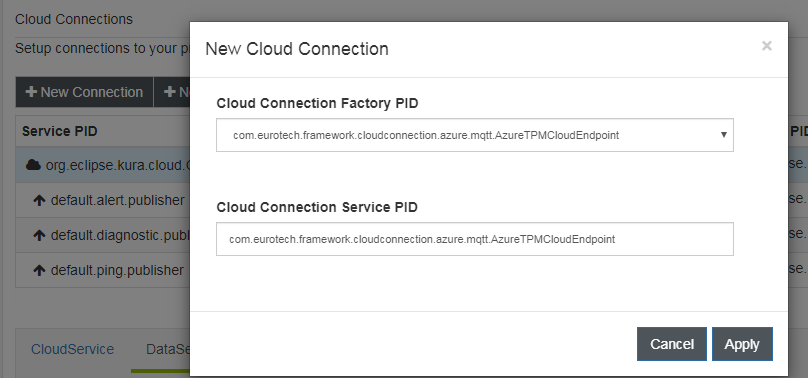
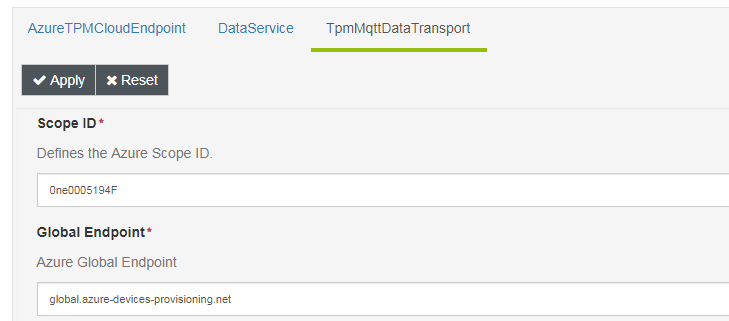
Select the new connection and configure TpmMqttDataTransport with the Azure Scope ID and Azure Global Endpoint from your Azure account:

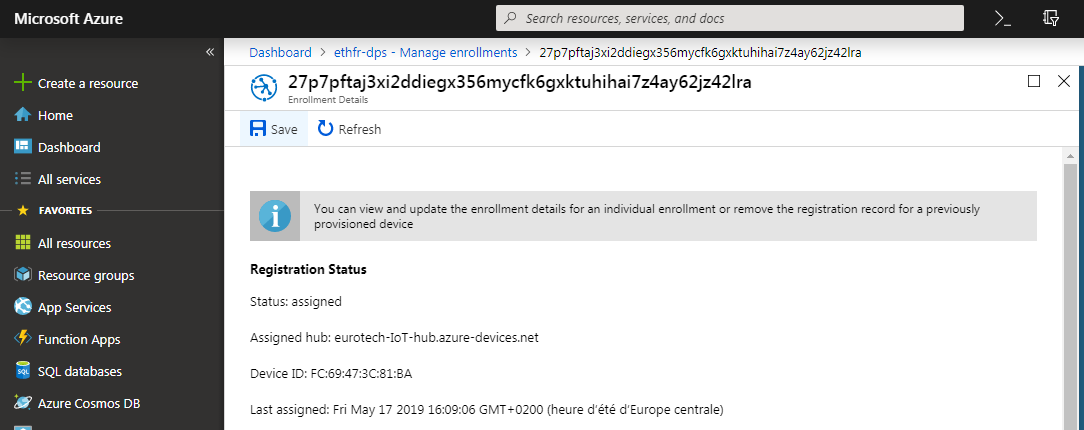
When the AzureTPMCloudEndpoint is connected, check in Azure Portal that the device has been registered
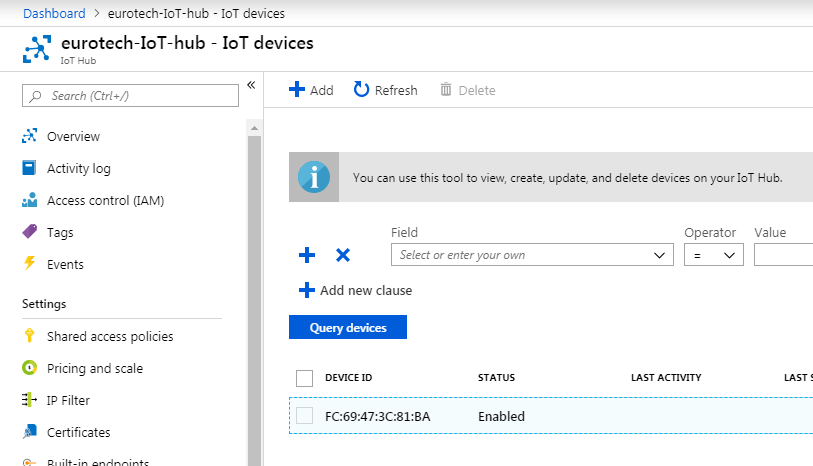
When the gateway connects for the first time a Device is created in the IoT Hub:
SaS version
In the ESF Web interface, create a new Cloud Connection using Factory AzureSasCloudEndpoint
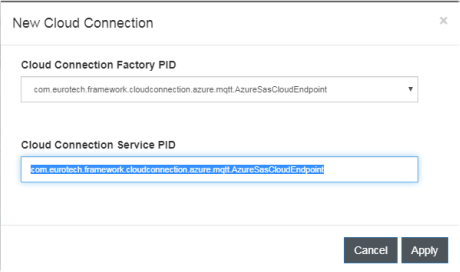
Select the new connection and configure SasMqttDataTransport with the Connection string that has been previously copied:

DataService
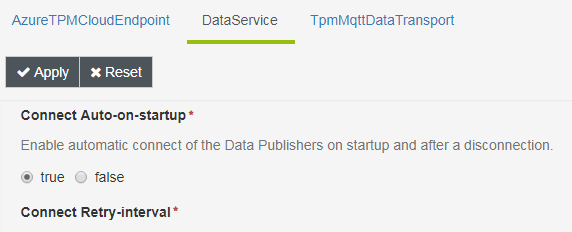
In order for ESF to connect to Azure IoT Hub on startup, the option connect.auto-on-startup must be set to true in DataService. If this value is changed from false to true, ESF will immediately begin the connection process. It is recommended that the CloudService and MqttDataTransport are configured before setting the connect.auto-on-startup option to true.
Changing the value of connect.auto-on-startup from true to false will not disconnect the client from the broker. This setting simply implies that ESF will not automatically connect on the next start of Kura.
Connect/Disconnect
The status panel can be used to manually connect or disconnect the client while ESF is running. The main button toolbar has a connect and disconnect button that may be used to control connectivity.
Connecting or disconnecting the client via the status panel has no impact on ESF automatically connecting at startup. This capability is only controlled via the connect.auto-on-startup DataService setting.
ESF Application Connecting to Azure IoT Hub
A new Publisher and a new Subscriber can be created in ESF Cloud Service. To create a "digital twin" in Azure IoT Hub, chose a Twin publisher/subscriber. If you want only publish data in Azure IoT Hub, create a Telemetry publisher.
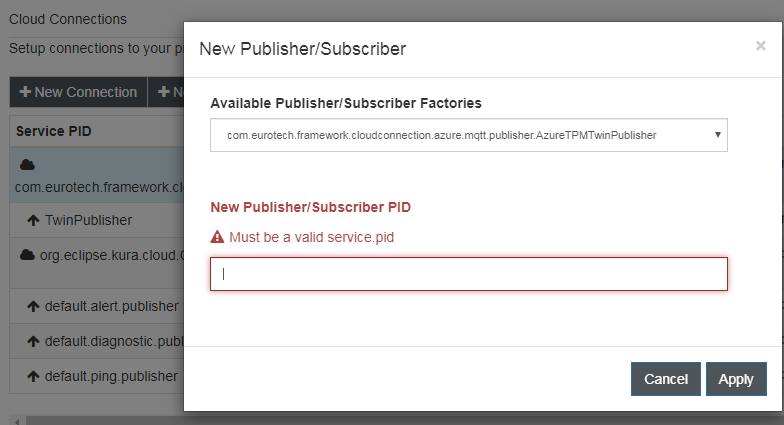
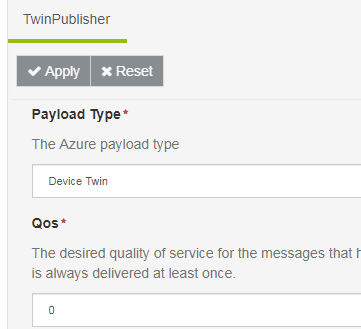
We can build a demo Wire Graph that will use these Pub/Sub
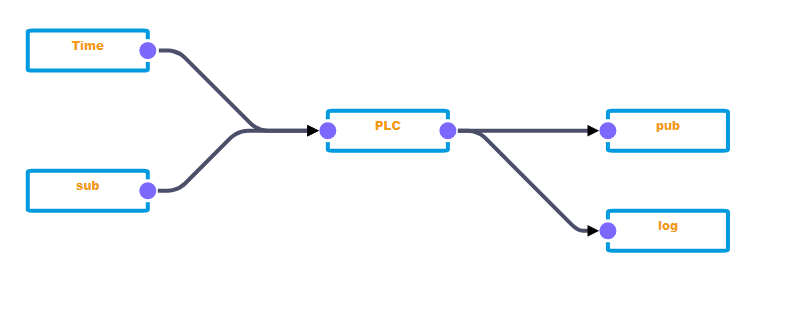
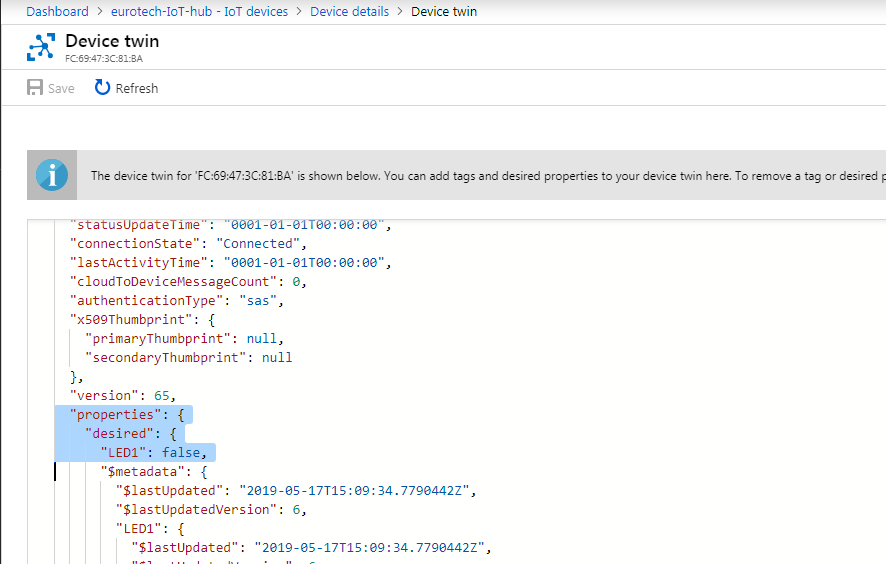
Modifying the “Desired properties” has a direct effect on the device: LED1 = true will activate the led.
Updated 2 months ago
